As the curtain falls on my last attempt to clear E4, I’m standing both empty-minded and empty-handed in front of the last battle report telling me that, once again, my girls failed at my expectations. Here are my thoughts on this 80 sorties 23 hours long battle that ended in bitter defeat.
For those who don’t know about E4’s hell map, you can find more information on the English wiki.
For those who don’t know about Kantai Collection, well, either dig it on Google or read my final thoughts… or close this page if you’re not interested in KanColle anyway.
tl;dr : go to “final thoughts”
Table of Contents
Prelude
I had heard quite a lot about it. That it was a hell of a map, only reserved for experienced admirals capable of staying frosty under any circumstances and that it’d put both myself and my fleet under heavy pressure. A lot of admiral apparently lost some precious girls during what is considered one of the most awful and unfair map of the whole game.
I mainly gathered my intel from the aforementioned wiki and from 2 friends who managed to clear it before my first attempt. One of the most popular formations (and the one that was recommended to me) used 2 Kongou-class BB, Kitakami-sama, Ooi and 2 CA. Unfortunately, due to mistakes I made during my first weeks of playing KanColle, this formation wasn’t really possible for me as only Kitakami reached Hyper-KTKM-sama mode (lvl 50 last remodel) and my CAs were not really high level. I mainly focus on leveling my battleships, subs and aircraft carriers, and that would prove to be a fatal mistake.
My battle was divided into roughly 5 phases.
Phase 1 : Iridescent Cloud
Phase duration : 8 sorties
During this phase, I tried to stick as much as I could to the recommended formation while doing some recon on the first nodes. As expected, Ooi, Takao and Maya were far from appropriate for this event. Ooi’s lack of firepower and the whole three’s low level was obvious, but I hoped for them to push forward a bit more.

Resource whore
Around half of this phase, I did one major mistake : upgrade Kongo. While it sure feels like she hit a bit harder afterwards (I may also add that she gets hit less frequently but that would be questionable as she was the flagship of my fleet), her maintenance cost largely increased (+22% on fuel & +13% on ammo) and even the sole remodeling cost should have been a big warning that I totally ignored (something like 2.4k steel & ammo). Still, her crit were able to deal some 200+ damage to the final boss, so while it quite lessened the number of sortie I could do, I wonder if I could have been able to pull out those “almost killed” sorties without that. As I started quite late, didn’t reached the boss yet and wasn’t really prepared to pull an all-nighter for this long battle, I called it a day and resumed operation in the early morning. At this point, I was convinced that my fleet wasn’t appropriate and decided that it was time to call for a change of strategy.
Phase 2 : Tokyo Express to Hell
Phase duration : 19 sorties
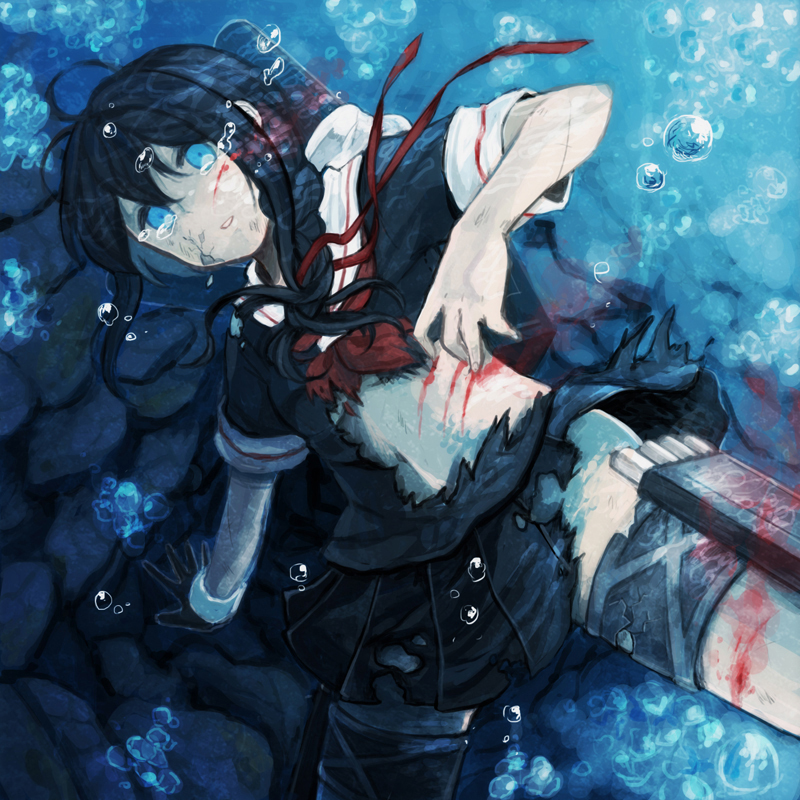
I’m sorry Shigure, really ;_;
As a quite caring admiral, I never thought I would use such a strategy one day and since the very first sortie, I felt bad. Really bad.
This strategy consisted of using Kongou and Haruna as the main damage dealer, while shielding them with level 1 / low-level destroyer. Literally.
Since the firing phase is almost completely random (except for battles against subs), using this strategy will ensure that Kongou & Haruna only get 2 out of 6 shots (even less for Kongou since she’s flag-shipping).
Problem is, 4 out of 6 shots land on the defenseless low-level destroyers. And while they have a higher evasion rate, it still wasn’t enough to prevent 15 of them from sinking (with 11 during this phase).
As I tend to be almost over-protective with my ship-daughters, using this strategy made me want to cry. And the first casualties really made me cry (I’m glad nobody was on TeamSpeak at this moment).
Every time I replaced the fallen ones with new, greener ones, I felt something break in my mind.
Every time I loaded the new ones with shitty 12.7 cm canons, only to delay the inevitable, my heart torn apart.
It felt like I was a senior Wehrmacht officer giving Kar98 rifles to lolis and telling them that they would help winning the battle of Berlin, while knowing that they’d almost all be instantly killed / captured & raped by the soviets after I send them off.
It was so unbearable that, at one point, I turned off my computer’s sound to avoid hearing their final words.
But as inhuman as this strategy is, it was way more efficient. The low consumption & repair cost of the DDs allowed me to grind the boss’s HP slowly but surely while keeping as much resources as I could for the bigger battle that would come afterward.
And after more than 6 hours of hell and sacrifices, I thought heaven’s light finally came upon us when the boss’s HP came down to zero, while it had almost no HP left for the battle.
I thought it was it, that I’d finally beat it, that I could grasp victory, that all those sacrifices wouldn’t end in vain. I even started to think that I could do E5, since my resources were still above 11k (except for steel) and already dreamed of showing off Musashi.
I just didn’t know how terribly wrong I was.
Phase 3 : Stalingrad
Phase duration : 14 sorties
Intoxicated by what I considered a “glorious victory”, I pushed forward, changing my formation a bit (replaced one sacrifice destroyer with Yukikaze) and launching support expedition to beat the boss. At this moment, going all-out felt like the only solution to defeat her. It took me 12 sorties to realize how big of a mistake it was.
While my stats on this phase are “not bad”, it definitely isn’t as “good” as the previous one. The addition of Yukikaze increased the frequency of my retreats and my fuel & ammo consumption sky-rocketed as my support fleet included 4 battleships. It would cost me 248 fuel & 465 ammo ONLY TO SORTIE. Going as far as the boss would cost 398 fuel & 693 ammo.
If I got hit on the first node, that would have been almost 5 TIME the cost of a previous phase sortie (and “only twice” if I reached the boss).
I tried to change my formation a bit by replacing another destroyer with KTKM, but since she was prone to getting hit and wasn’t that efficient, I replaced her with Shimakaze. This last choice was one of the few good choices I made during the whole battle.
After realizing that I was depleting my resources at a horrifying rate, I tried to cut costs by replacing Kirishima and Hyuuga with Takao and Maya, and after 2 sorties, I just totally stopped sending out my support fleet. But it was already too late…
Phase 4 : Collateral damage
Phase duration : 11 sorties
At this point, my dream of trying E5 vanished, and defeat slowly took shape in front of my eyes.
Seeing how the battle that has beaten all the boss’s HP went, I thought going back to this previous strategy would be a viable option.
Using Shimakaze & Yukikaze would add some real firepower during night battle while still reducing the risks for Kongou & Haruna since they have a high evasion stat. The main problem was that I would be relying on luck. And I’m not really a lucky admiral, it would take a long time before getting any result.
I also noticed that I was currently using my usual secondary fleets for expeditions. In fact, mine aren’t optimized at all since I always use all the available slots to both make it more convenient (I can send whichever fleet to whatever expedition without having to think about it) and grant XP for more girls. I fixed it and started using scaled down fleets for those expedition, hoping that it would allow me to get a few more sorties.
After reaching the boss only once and seeing how I was both physically and morally exhausted, I decided to call it a day and try to exploit a bug that one of my fellow admiral reported. If you can reach the boss and decide not to click on his dialogue box when she’s taunting you, the battle doesn’t start. And apparently, her HP also stall (or almost).
So I tried one last time to get to her while using “expandable CL”. But after reaching the third node, Kongou got critically hit and I was forced to retreat.
After some thinking, I decided to call it a day once again…
Phase 5 : Attrition warfare
Phase duration : 28 sorties
Running out of resources, running out of options and running out of patience, I decided to push my luck.
I reverted back to the very first formation I used, but this time, I replaced both KTKM and Ooi with Shimakaze and Yukikaze. This would enable me to have more firepower while trying to reduce the number of retreats and not drastically increase my resources consumption.
But once again, since Takao and Maya still weren’t at an adequate level, I was relying on luck.
Pushing my luck even further, I even resorted to using damage control team in order to avoid retreating when the boss was in sight.
There’s not much to say about those sorties. Except that I got quite a bad luck streak in the middle of this phase (13 sorties ended either in retreat or in wrong turn for the last node).
To delay the inevitable I even tried spacing my sorties in order to get a few more resources from the expedition and auto-replenishment. Even one more sortie would have been fine.
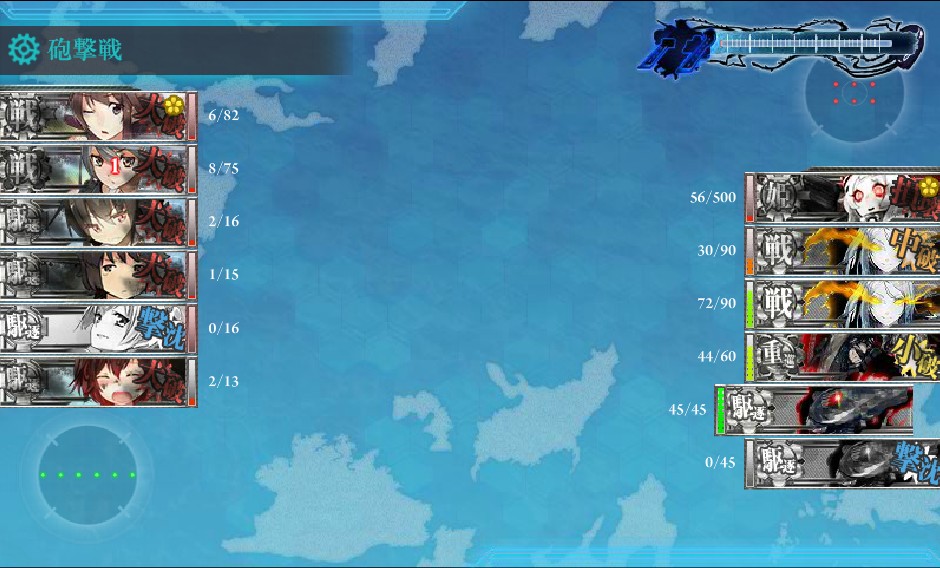
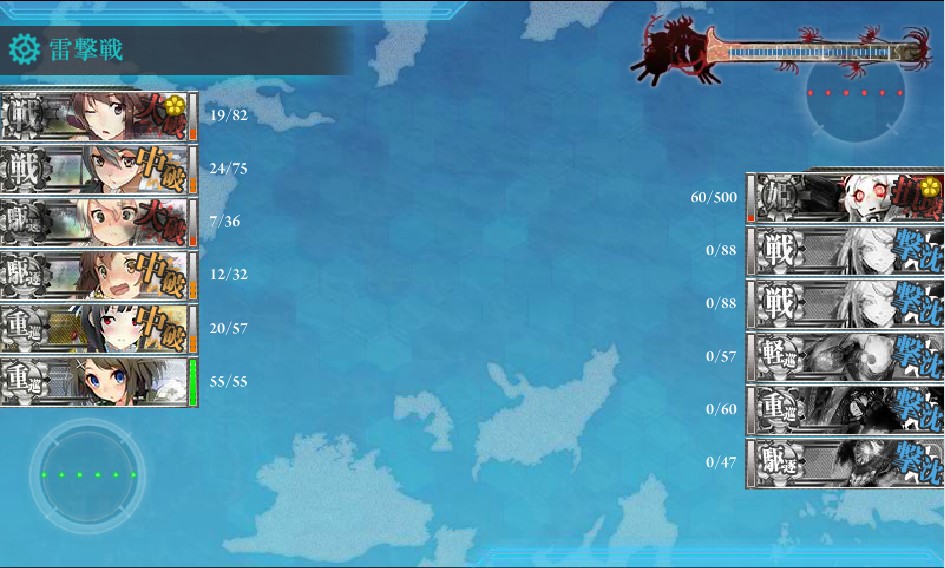
And when I was about to lose hope, I finally reached the boss. This time hitting her hard (did 418 damage out of her 500 HP). But it was just the RNG goddess being a bitch. Turned out, a few battle following this one were THAT close to do it. But nope. My penultimate trial got all the escort down… and no damage dealt to the boss. Under normal circumstances, I’d have laughed it off. In E4 it just got me even more depressed.
In a last stand, I sortied my fleet, knowing that it would be the last time (my fuel level was under 100 units).
Ironically, everything went fine (except for Takao getting medium damage at the second node). I properly reached the boss and gave her hell. Kongou made a nice crit on her, reducing her HP to less than 300. When daylight broke, she was half way done. And then, everybody did shit.
Sure, Haruna managed to reduce her HP to less than 200. But after that… everyone was trying to hit her escort BB. And when she was finally done, they got back to that Henderson bitch. Only to miss her or do shit damage (60 or less per hit).
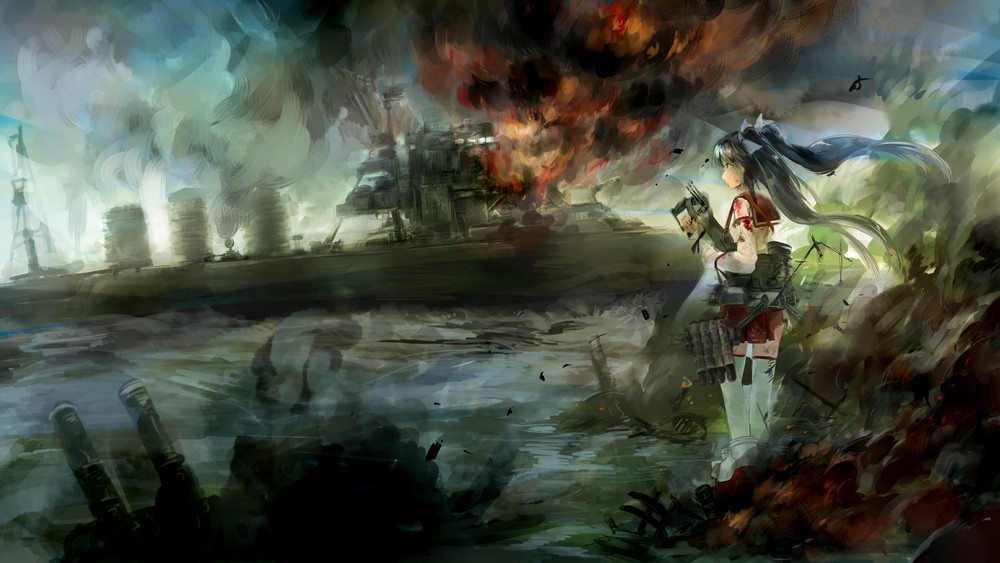
The face of defeat
Final thoughts
So here I am, sitting in front of this Guadalcanal-like crushing defeat.
A few figures so that you can evaluate what I went through (you can check the detail in my complete E4 battle stats at the end of the article) :
- Fuel used : 25868
- Ammo used : 21249
- Steel used : 22513
- Buckets used : 137
- Damage control used : 2
- Destroyers sacrificed : 15
- Rewards (not exhaustive w) : Kongo, Kirishima (2), Maikaze, Kinugasa, a lot of common DD, CL, CA
After all that, I feel both depressed and bitter.
Depressed because of the violent deaths I sent some of my daughters to.
Bitter because I spent so much resources, time and moral, all for almost nothing. The last battles results don’t make it any better. In fact, it’s the exact opposite.
I know I shouldn’t blame my girls but the RNG. Still, I can’t help feeling really resentful against them, seeing how they don’t fire on the good target / do shit damage (if any).
But most of all, this battle made me feel bitter towards the whole game. Seriously, I can totally admit that I made strategic mistakes (like using the support fleet, or even before that, by not leveling up the right girls), but in the end, everything goes down to sheer luck.
Does it really makes any sense that my weak LEVEL 10 DESTROYERS with 2 BBs managed to get the boss as down as 40 HP when all the others failed while being at least 3 TIMES stronger in both level and stats? (the highest being Takao & Maya having 9 times better artillery stat) One sortie managed to get her as down as 56 HP. But that’s still 16 HP from 40.
It makes me feel like I could clear any map with a level 1 destroyer and a lot of luck. That’s just wrong, you can make the worst decisions and clear any map… and make the best decisions and just get shit.
I’ll conclude those final thoughts by saying that this whole E4 confirmed me that luck played a way too important role (and that I didn’t have any w). It kind of reminded me of how I struggled to clear 2-4, except this one didn’t have a gauge and didn’t forced me to push my (non-existent) luck this far.
I hope this battle reports will help fellow admirals who didn’t try E4 yet to reconsider trying it. Or at least to clearly evaluate whether their fleet / resources / luck can allow them to or not and to avoid making the mistakes I made. And godspeed.

く(;_;)
Translation available here : http://pastebin.com/8NbLbhy5
Finally, here is a (badly photoshopped) commemorative picture of the girl who tried their best and made the ultimate sacrifice for an unattainable goal (background is my battlestation).
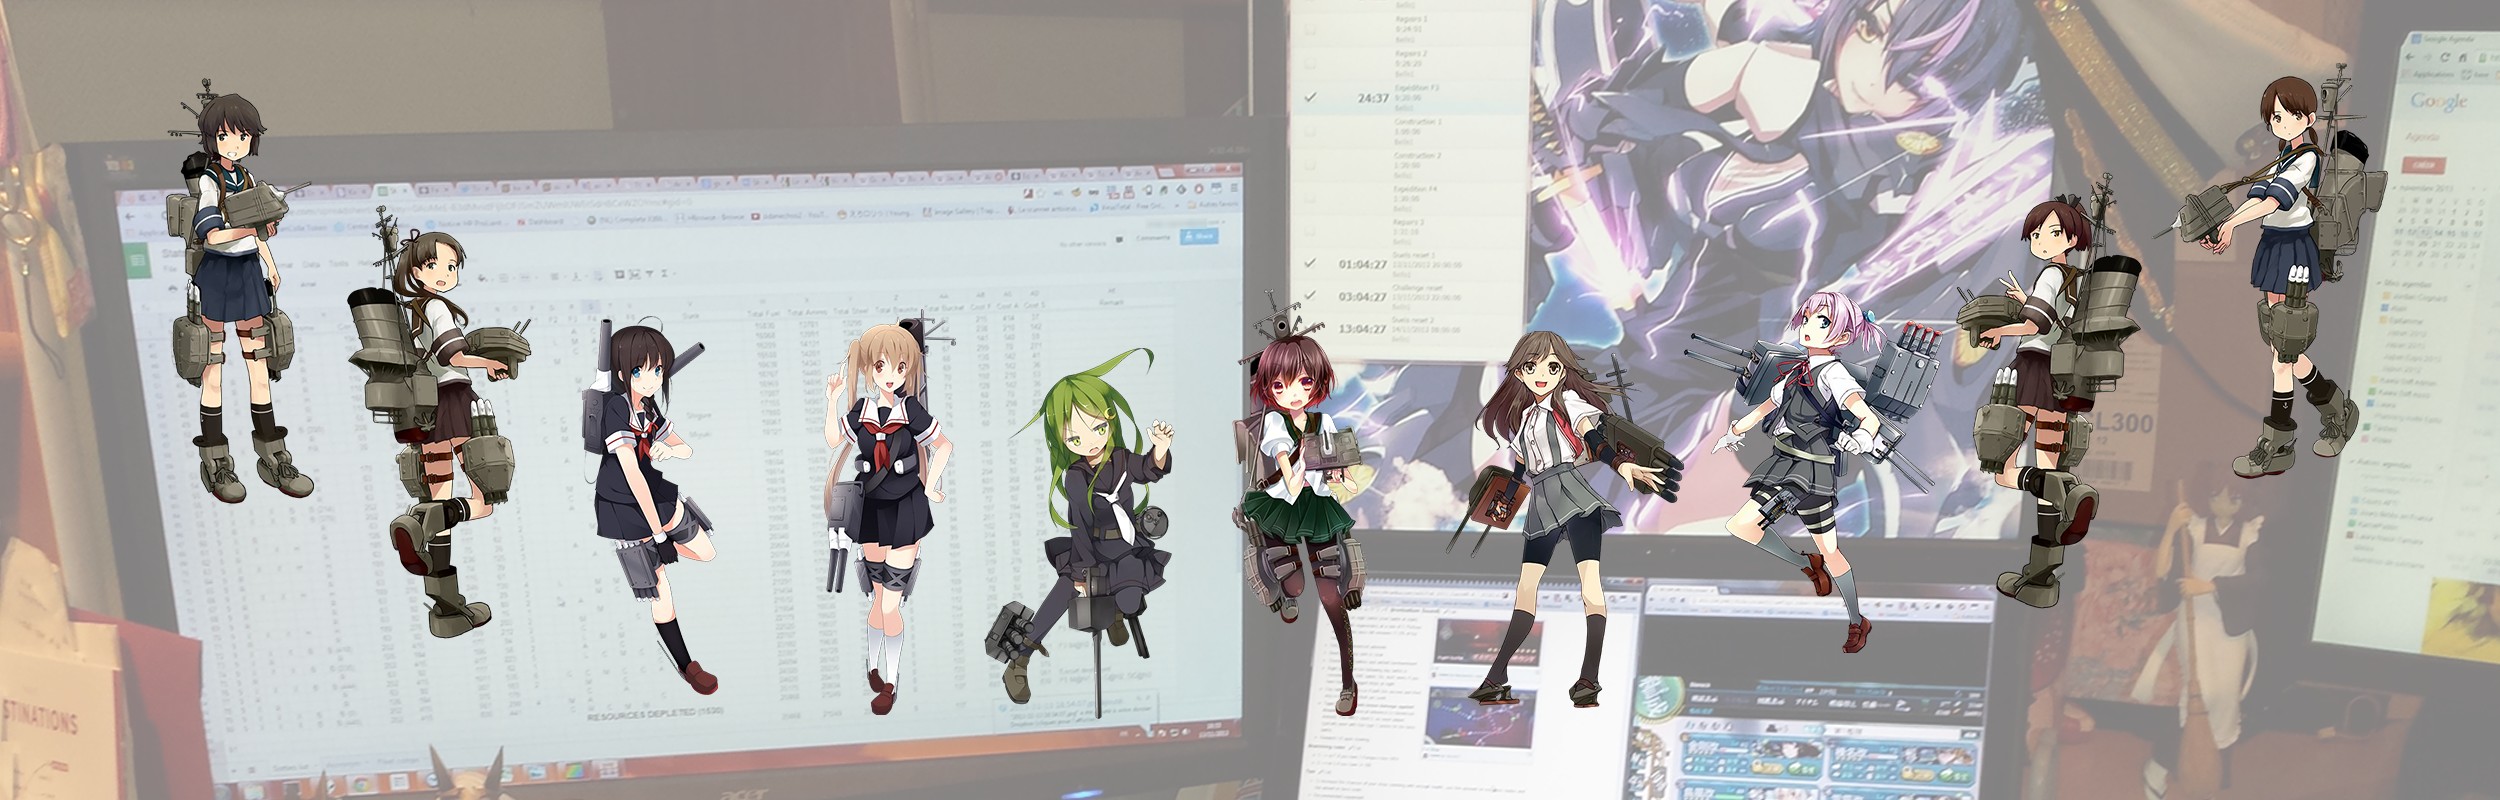
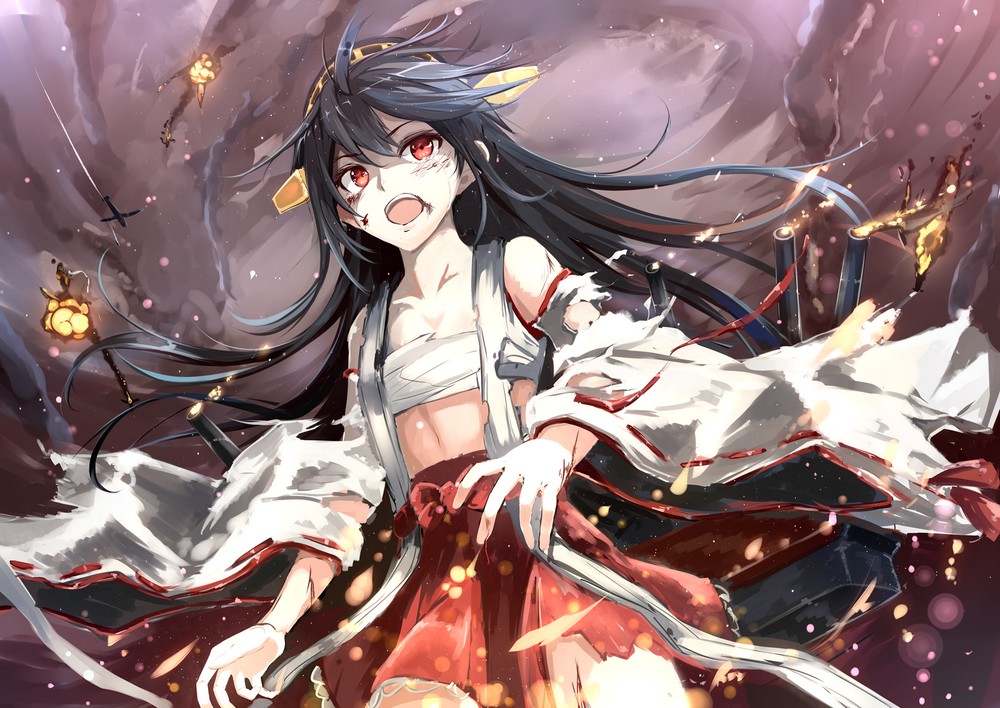
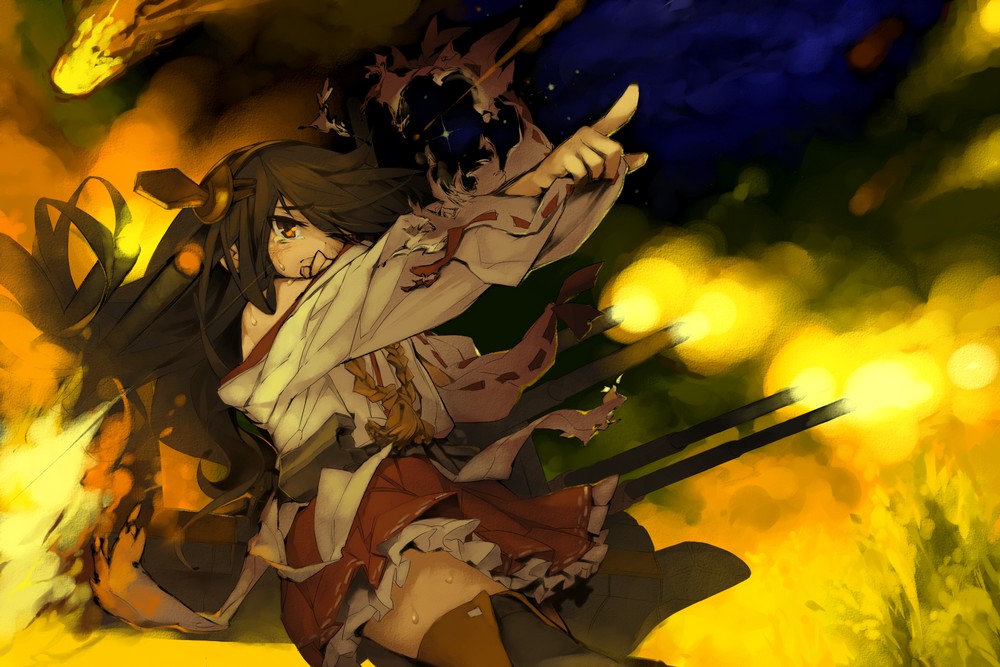
Full stats on this battle : https://docs.google.com/spreadsheet/pub?key=0AgZz6OTPO9E-dFBaQ3NwUGwzQ2k0VlRZUG1pODhHWWc&output=html

Sources list :
Shigure : http://www.pixiv.net/member_illust.php?mode=medium&illust_id=39175026
Kongou : http://www.pixiv.net/member_illust.php?mode=medium&illust_id=36935225
Isuzu : http://www.pixiv.net/member_illust.php?mode=medium&illust_id=38693318
Haruna : http://www.pixiv.net/member_illust.php?mode=medium&illust_id=37635920
Haruna bis : http://www.pixiv.net/member_illust.php?mode=medium&illust_id=39316150
Recent Comments